What To Check Before Choosing Everyday Sneakers For Walking And Errands
A practical step-by-step guide to what to check before choosing everyday sneakers for walking and errands, including preparation, instructions, common issues, tips, and next steps.
What To Check Before Choosing Everyday Sneakers For Walking And Errands
This guide helps you choose everyday sneakers that support comfortable walking and running errands. It covers essential checks like fit, cushioning, arch support, and flexibility, with practical tips for testing shoes before buying.
Fast Answer
- Look for a snug heel, wiggle room for toes, and a shoe that bends at the ball of your foot.
- Choose moderate cushioning and arch support that matches your foot type and walking surface.
Before You Start
- Measure both feet later in the day when they are slightly swollen from daily activity.
- Wear the same type of socks you plan to use for walking or errands.
- Bring along any custom orthotics or insoles you normally use.
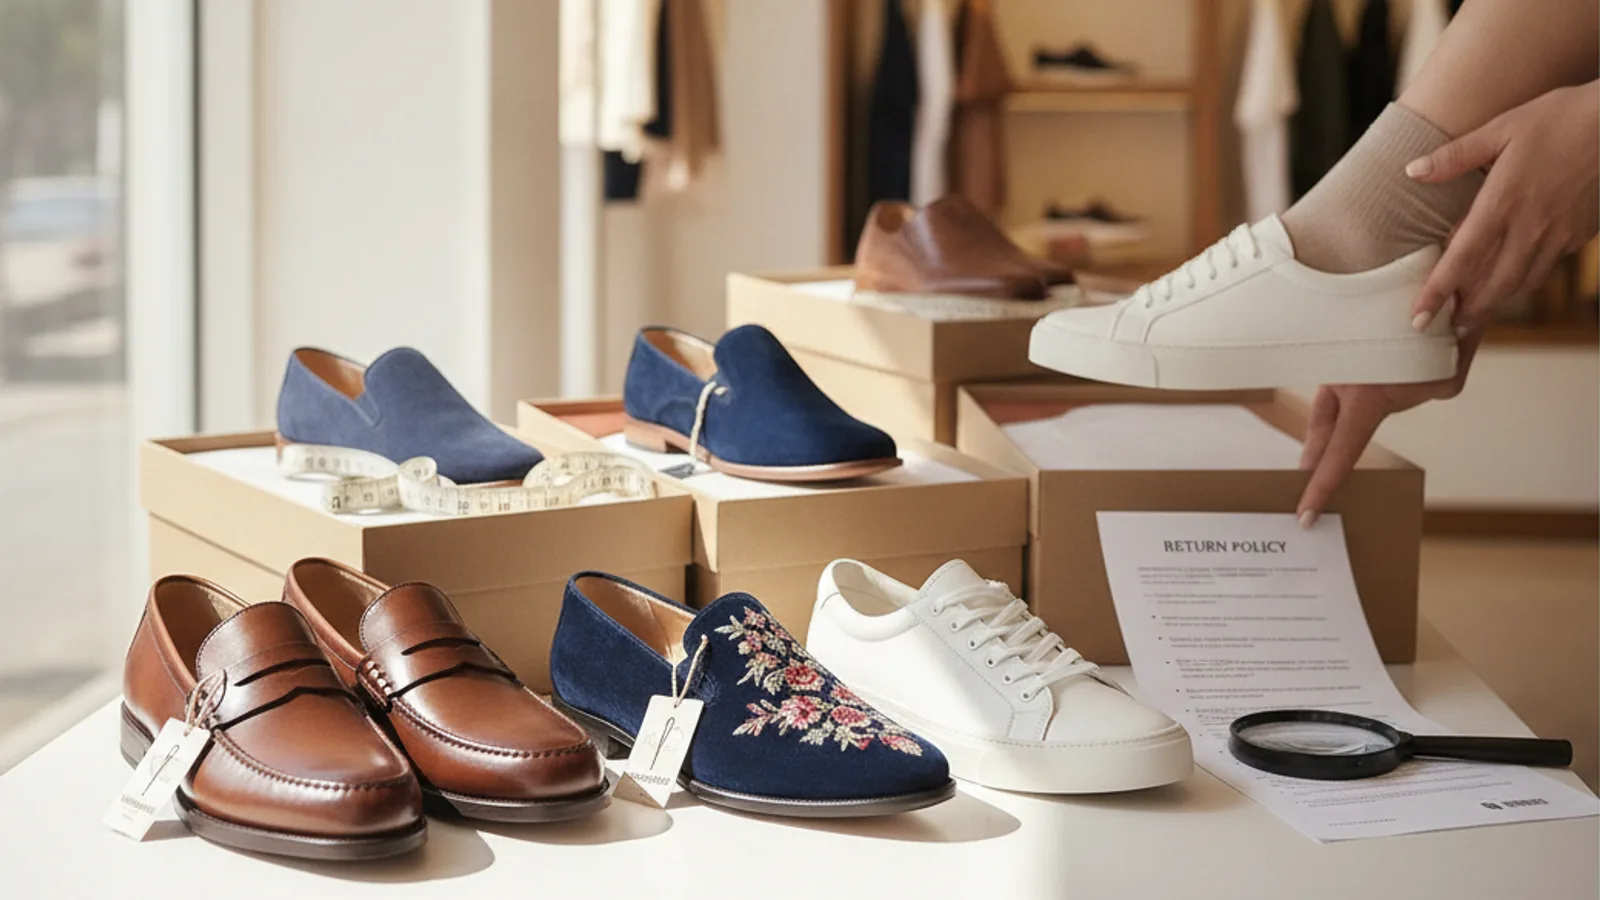
- Plan to shop at a store with a generous return policy so you can test shoes at home.
Step-by-Step Instructions
Measure Your Feet for Accuracy
Begin by measuring both feet, because many people have one foot larger than the other. Use a Brannock device or a simple ruler and paper to measure length and width. Do this at the end of the day when your feet are naturally swollen from walking and standing. Sit down, but stand when measuring to get an accurate reading of your foot under your body's weight. Note the measurements in both inches and centimeters, and compare them to the brand's size chart (which you can find online or in the store). If your feet are different sizes, fit the larger foot. This step prevents buying sneakers that are too short or narrow, which can cause toe crowding, blisters, and even nerve pain. Remember that foot size can change with age, weight, and pregnancy, so do not rely on a size you wore years ago. Taking the time to measure ensures you start with the correct base size, making the rest of your fit checks more meaningful.
Check the Heel Fit
Slip on the sneaker and lace it up completely, then focus on how your heel feels. Your heel should sit snugly in the back of the shoe without slipping or rubbing. Walk a few steps, and have someone watch your heel from behind. If your heel lifts out of the shoe with each step, the shoe is too loose in the heel area. A secure heel helps prevent friction that leads to blisters and keeps your foot stable on uneven sidewalks. At the same time, the heel should not pinch or press painfully. You should feel a firm grip, but there should be almost no movement. If the shoe has a heel counter (the stiff part around your heel), it should hold your foot in place. An easy test is to try to slide your heel out without unlacing the shoe; if it comes out easily, you need a different size or a narrower width. A well-fitted heel reduces fatigue because your foot does not work to hold the shoe on, letting you walk longer without discomfort.
Examine Toe Box Room
Stand up in the sneaker and press your thumb down on the top of the shoe at the point of your longest toe. There should be about a thumb's width (roughly half an inch) of space between your longest toe and the end of the shoe. You should be able to wiggle all of your toes freely, but your foot should not slide forward when you walk. This room is crucial because your foot naturally slides forward as you walk, especially on downhills. If your toes hit the front of the shoe, you risk bruising the nail or developing a black toenail. Additionally, a too-narrow toe box can squeeze your toes together, causing bunions or corns over time. The ideal toe box allows your toes to spread naturally for balance and shock absorption. When checking, do the 'rule of thumb' test, and also walk on a slight incline if possible to see if your toes jam. Always check both shoes because your feet may differ. A roomy toe box is non-negotiable for comfortable all-day wear.
Test Midfoot Flexibility
Hold the sneaker by the heel with one hand and push up on the toe with your other hand. The shoe should bend at or just behind the ball of your foot, not in the middle of the arch. This is the natural flex point of your foot. If the shoe is too stiff and refuses to bend, your foot will have to work harder with each step, leading to fatigue and potential strain. If it bends too easily in the center, arch support may be inadequate. To test in motion, walk a few steps and notice if your foot rolls naturally. The flexibility of the shoe should match your walking speed and the surfaces you'll be on. For everyday errands with moderate walking, a flexible shoe is usually better than a highly rigid one. This check ensures that the shoe moves with your foot, reducing the risk of plantar fasciitis. Also, consider the activity: if you plan to walk a lot, a slightly firmer flex may offer more propulsion, but for casual errands, a flexible sole is comfortable.
Assess Cushioning and Support
Press your thumb into the midsole of the sneaker to feel the cushioning. It should give slightly under pressure but spring back immediately. Walk around the store on a hard surface, like tile or concrete, to feel how your foot lands. Pay attention to the impact on your heels and the balls of your feet. Good cushioning absorbs shock and reduces stress on your joints, making it easier to walk for extended periods. At the same time, you need arch support. Look at the inside of the shoe to see if there is a mild bump under the arch. If you have flat feet, you may need more support; if you have high arches, you might prefer a cushioned sole without a rigid arch. A simple test is to remove the insole and stand on it—if your arch hangs off the inside of the insole, you likely need more arch support. Also, think about the surface you'll walk on: if you're mostly on pavement, you want more cushioning; if you're on trails, you want more traction and stability.
Review Sole Traction and Weight
Inspect the outsole, the bottom of the shoe, for tread patterns that suit your typical walking surfaces. If you walk on wet streets, you want a sole with lugs or grooves that channel water. For indoor errands, a smooth sole may be enough, but for outdoor use, you need grip. Also, consider the shoe's weight. Heft the shoe in your hand—lighter shoes are easier to walk in, but extremely light shoes may lack durability or cushioning. You can compare the weight of different models by holding one in each hand. Walk a few steps while paying attention to how heavy each shoe feels. A heavy shoe tires your legs quickly, especially for long errand days. The right balance is a shoe that feels light yet substantial enough to provide support. Finally, check the durability of the outsole: run your fingernail over the tread; it should not be too soft or too hard. This ensures the shoe will last through many walks without losing grip.
Quick Reference
| Situation | Action | Why it helps |
|---|---|---|
| You feel your heel slipping as you walk. | Re-lace the shoe using a heel lock lacing technique or try a half size down. | A snug heel prevents blisters and gives you better control with each step. |
| Your toes touch the end of the shoe when walking downhill. | Check that there is a thumb's width of space before your longest toe; if not, go up a half size. | Without room, your toes will jam against the front, risking bruising and nail damage. |
| The sneaker feels stiff and doesn't bend easily at the ball of your foot. | Look for a shoe that flexes naturally at that point or choose a more flexible model. | A proper flex point reduces foot fatigue and allows your feet to move naturally while walking. |
Common Issues
- Sneakers cause blisters on the back of the heel.: Use the heel lock lacing, wear moleskin patches, or choose a shorter shoe with a firmer heel counter.
- Your feet feel tired after only a short time.: Add an over-the-counter cushioned insole to provide extra support and shock absorption.
- The shoe becomes uncomfortable when you walk for a long time.: Alternate between two pairs, and consider replacing your sneakers after 300-500 miles of use.
Advanced Tips
- If you have high arches, look for shoes with firm midsoles and a visible arch; for flat feet, look for motion control features.
- Consider rotating two pairs of sneakers for daily wear to allow foam to recover and extend their life.
- Pay attention to the shoe's heel-to-toe drop; a lower drop can reduce calf strain but may require a transition period.
Final Checklist
- Measure both feet and use the larger foot's size.
- Check for a thumb's width of space in the toe box.
- Ensure the heel feels snug with no slipping.
- Test flexibility by bending the shoe at the ball of the foot.
FAQ
How often should I replace my everyday sneakers?
Typically, you should replace walking sneakers every 300 to 500 miles or when you notice signs of wear, such as uneven tread, cushioning that feels flat, or creases that don't bounce back. For everyday use, that could be every 6 to 12 months, depending on how much you walk.
Are more expensive sneakers always better?
Not necessarily. What matters most is fit and comfort, not the price. A moderately priced sneaker that fits well can outperform a more costly one with the wrong shape. Focus on how the shoe feels and whether it meets the checks described in this guide, rather than relying on price as a quality signal.
Can I wash my everyday sneakers in a washing machine?
Many sneakers can be machine washed on a gentle cycle, but it depends on the materials. Check the care label on your shoe. Generally, it's safer to hand wash with mild soap and water. Remove the insoles and laces, air dry, and never put them in the dryer, as heat can cause the glue to fail.